Overview
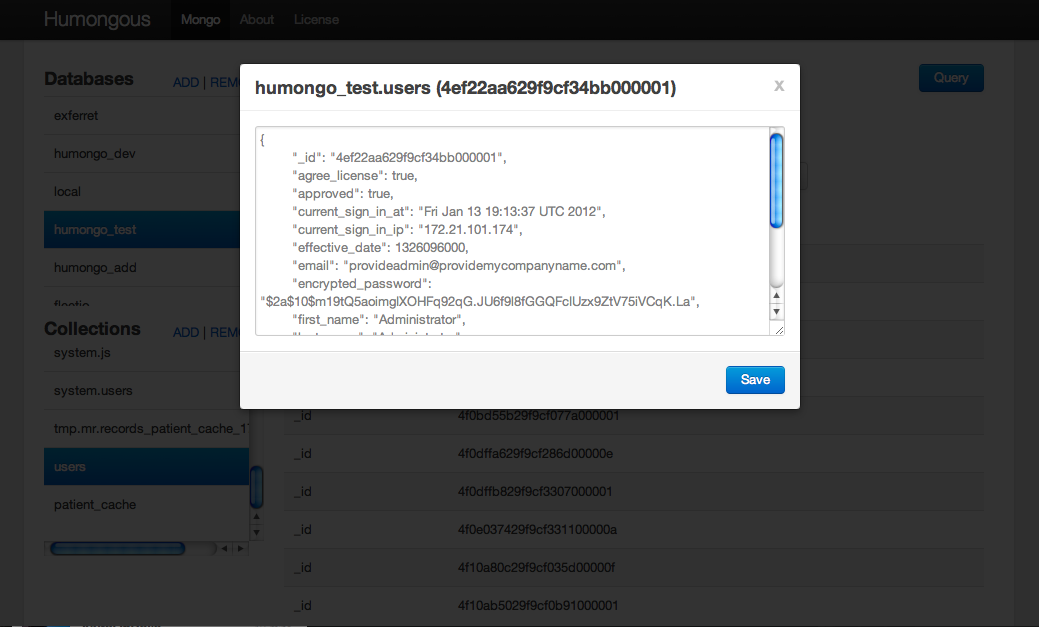
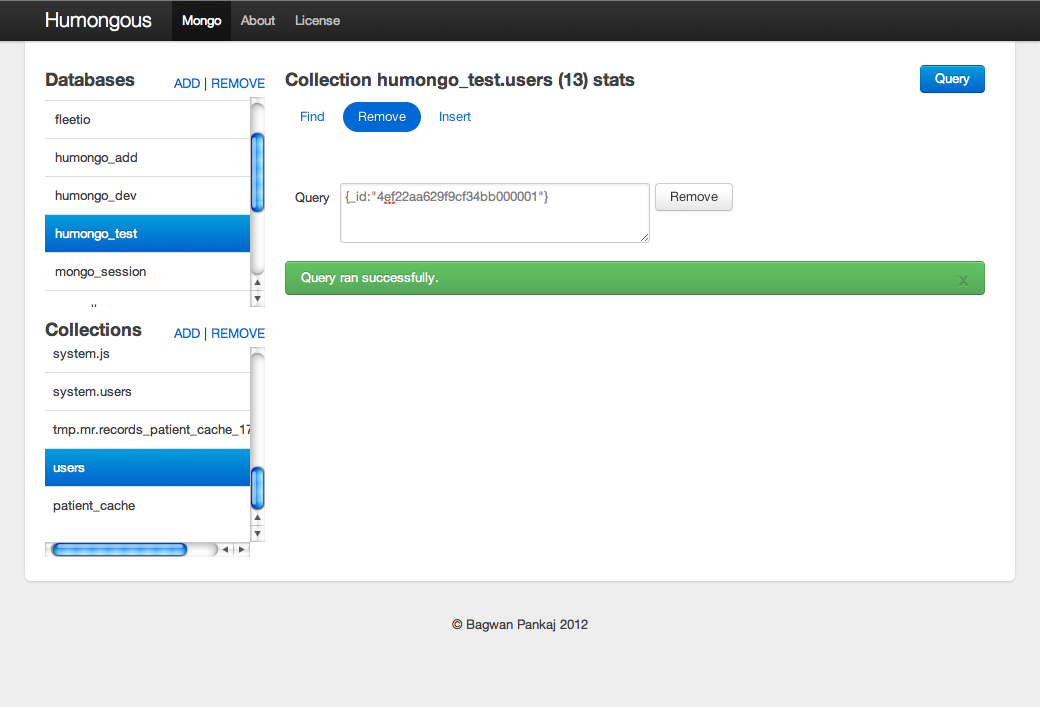
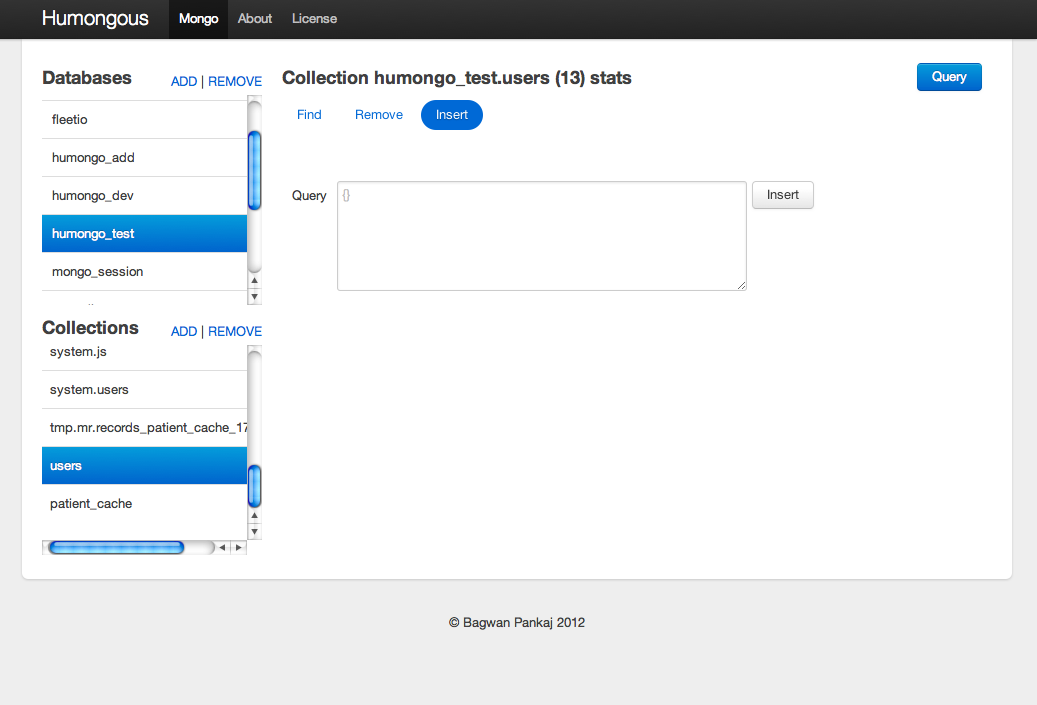
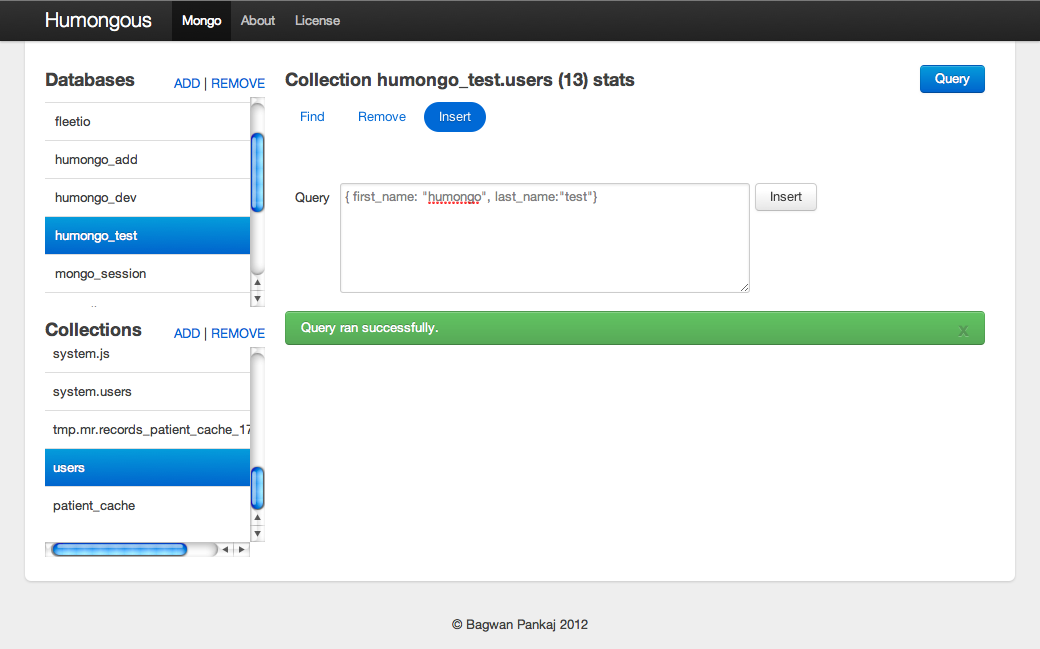
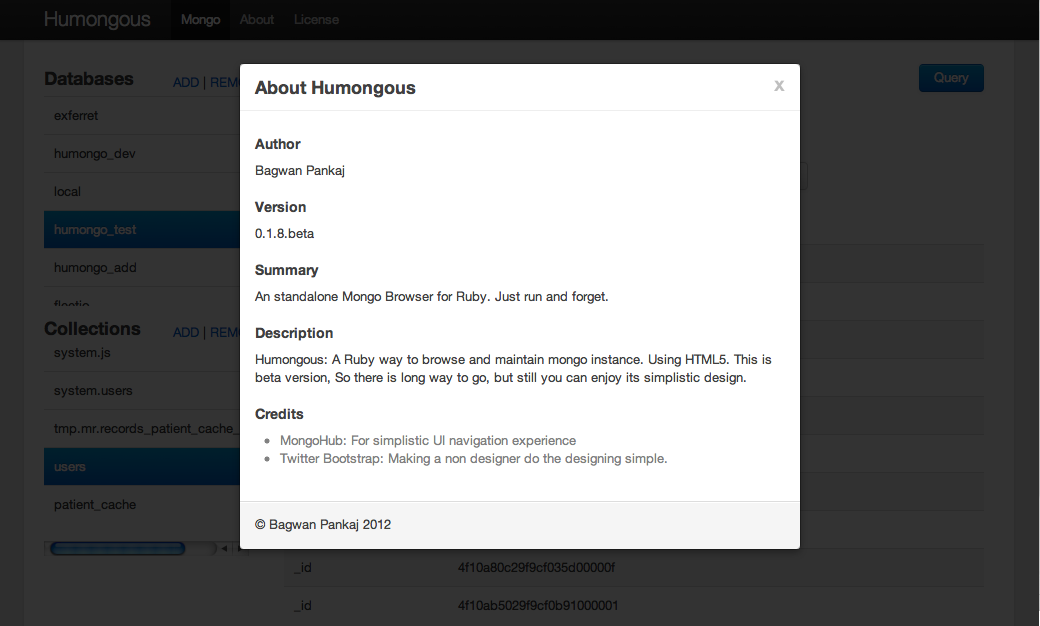
An standalone Mongo BrowserHumongous is a standalone MongoDB browser built on ruby. User using this need not to have knowledge of ruby language. What is needed is ruby installation and then install Humongous, And fire it from console.
Screenshots
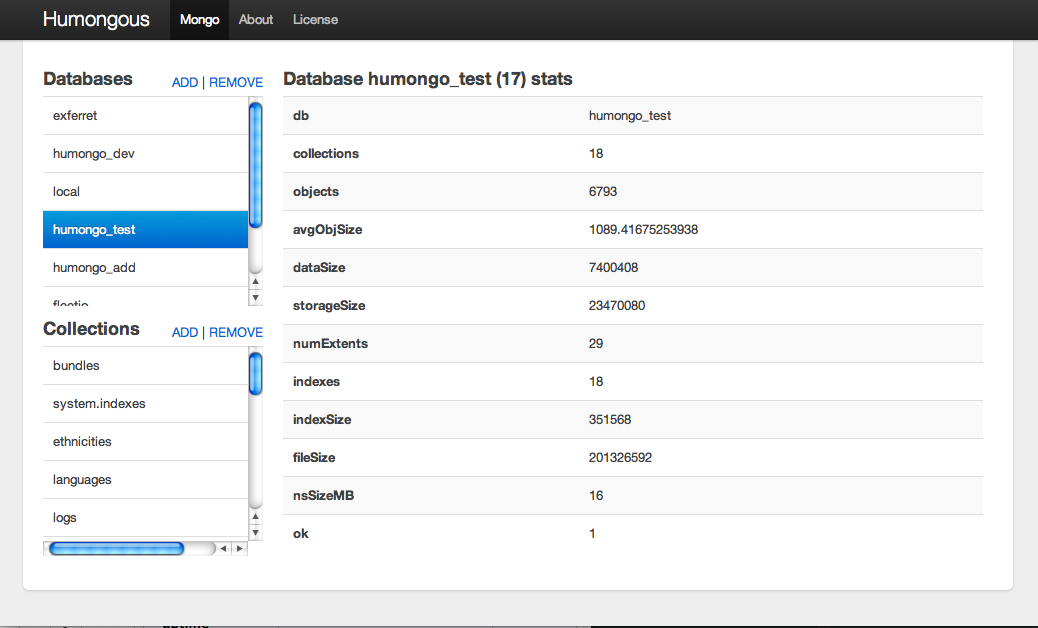
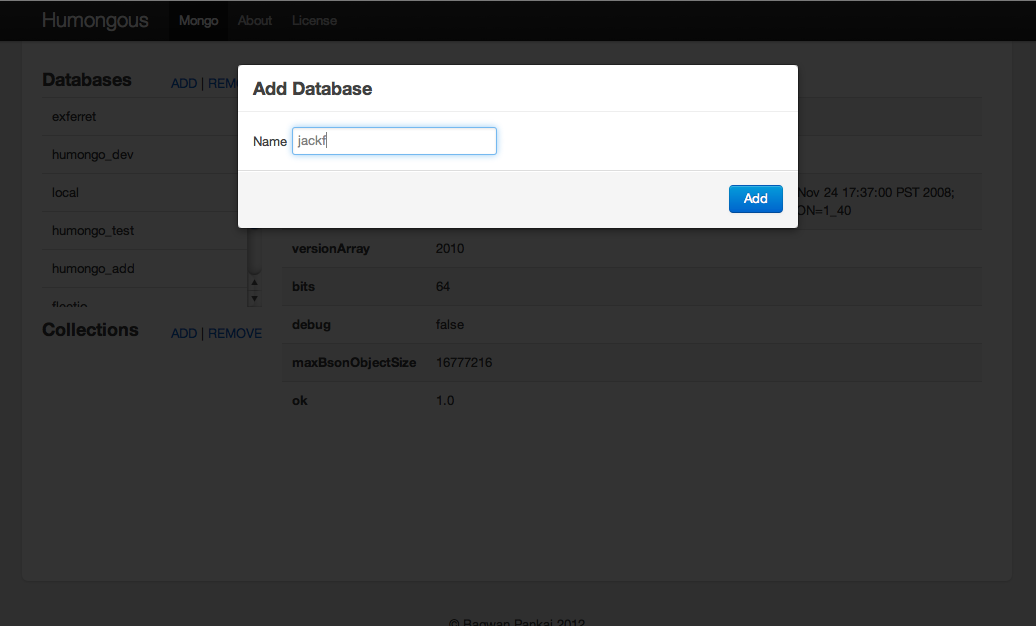
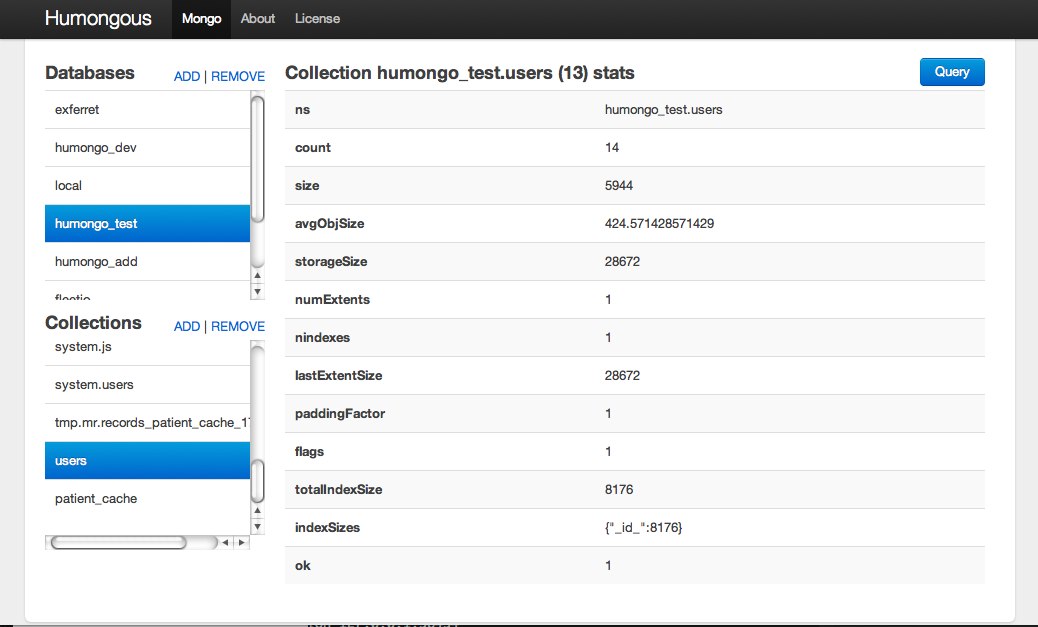
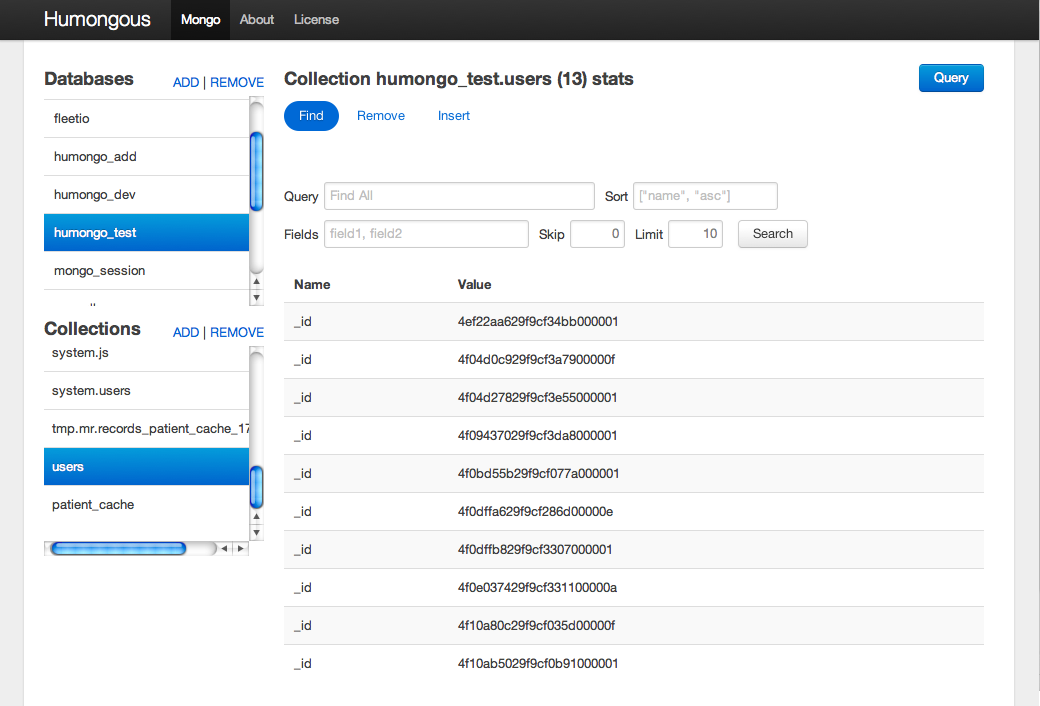
[Click to Enlarge]Title
Installation
How to Install?Uses
How to Use?To Start
Okay! So now now you are done with installation, and ready to ride on MongoDB, Buck Up, open your command line and fire to start Humongous
humongousIt will start Humongous and open up a it in browser for you.
To Stop
You can stop it once you are done with MongoDB. Run in Termonal with -K option:
humongous -K
Advanced Uses
Geek, Wanna know everything?
When Humongous starts first time, it creates .humongous directory in home folder. It uses this directory to store PID, logs, and url. It is customizable, you can specify different name and path for directory to be used by specifying --app-dir option. See options for detailed list of options.
Options
Optionsssssssssss!
Here are the list of option, can be passed with humongous command:
| Option | Description |
|---|---|
| -K, --kill | kill the running process and exit |
| -S, --status | display the current running PID and URL then quit |
| -s, --server SERVER | serve using SERVER (thin/mongrel/webrick) |
| -o, --host HOST | listen on HOST (default: 0.0.0.0) |
| -p, --port PORT | use PORT (default: 9000) |
| -x, --no-proxy | ignore env proxy settings (e.g. http_proxy) |
| -e, --env ENVIRONMENT | use ENVIRONMENT for defaults (default: production) |
| -F, --foreground | don't daemonize, run in the foreground |
| -L, --no-launch | don't launch the browser |
| -d, --debug | raise the log level to :debug (default: :info) |
| --app-dir APP_DIR | set the app dir where files are stored (default: ~/.humongous/)) |
| -P, --pid-file PID_FILE | set the path to the pid file (default: app_dir/humongous.pid) |
| --log-file LOG_FILE | set the path to the log file (default: app_dir/humongous.log) |
| --url-file URL_FILE | set the path to the URL file (default: app_dir/humongous.url) |
| -h, --help | Show this message |
To see complete documentation please visit here


